Creating the Best Time-lapse Movies of Construction Projects

Construction cameras with time-lapse features are incredibly powerful tools for the construction industry and are increasingly popular due to the tangible benefits they deliver to projects every day.
Construction cameras and time-lapse movies provide a means for:
- verifying material deliveries
- confirming the performance of subcontractors working on projects
- providing a constant reminder to team members of your dedication to safety
They also allow for the creation of captivating marketing collateral for websites, social media, print hand-outs, industry events, corporate training videos, and more.
We could go on about the benefits provided by time-lapse construction cameras, but in this article we will talk about the specifics of how to set yourself up for success when using a construction camera. Doing so will help ensure that you experience ALL of the benefits of construction cameras on each of your projects.
1. Make a Plan with Your Plans

Before installing your new construction camera, take some time with your team to review the plans and schedule of your project to strategically select ideal mounting location(s). Here are a few tips to help you choose the best location to place your camera:
- Consider an elevated mounting location, which can help capture the entirety of your project.
- Think about where crews and equipment will enter and leave the job site, and locate the camera where large vehicles and equipment won't block the camera’s view of construction activity.
- Factor in the camera's lens and field of view to select a mounting location with the best view of your project.
You and your team know your site best and you know what view you want to capture with your construction camera, making you the best judges of where the camera should be located.
Taking the time to pre-plan where to install your construction camera prior to the project starting will not only save you time and effort in the field, but it will provide you with properly framed time-lapse movies and photos of your project.
2. Use a Secure Mounting Surface
Once you have determined the location for your construction camera, the next step is to find (or build) a secure surface on which to install it.
For the best photos and time-lapse movies your construction camera should be mounted to a rigid item such as a sturdy pole or a wall.
Trees and cranes do not make good mounting surfaces for time-lapse construction cameras! Even the largest trees sway in the wind and rotate slightly throughout the day, resulting in less-than-ideal, shaky time-lapse movies. Like trees, cranes also sway in the wind, and the vibration of a moving crane can cause blurry photos, making them unsuitable for time-lapse cameras.
Instead, consider using any of the following as a mounting surface for your construction camera:
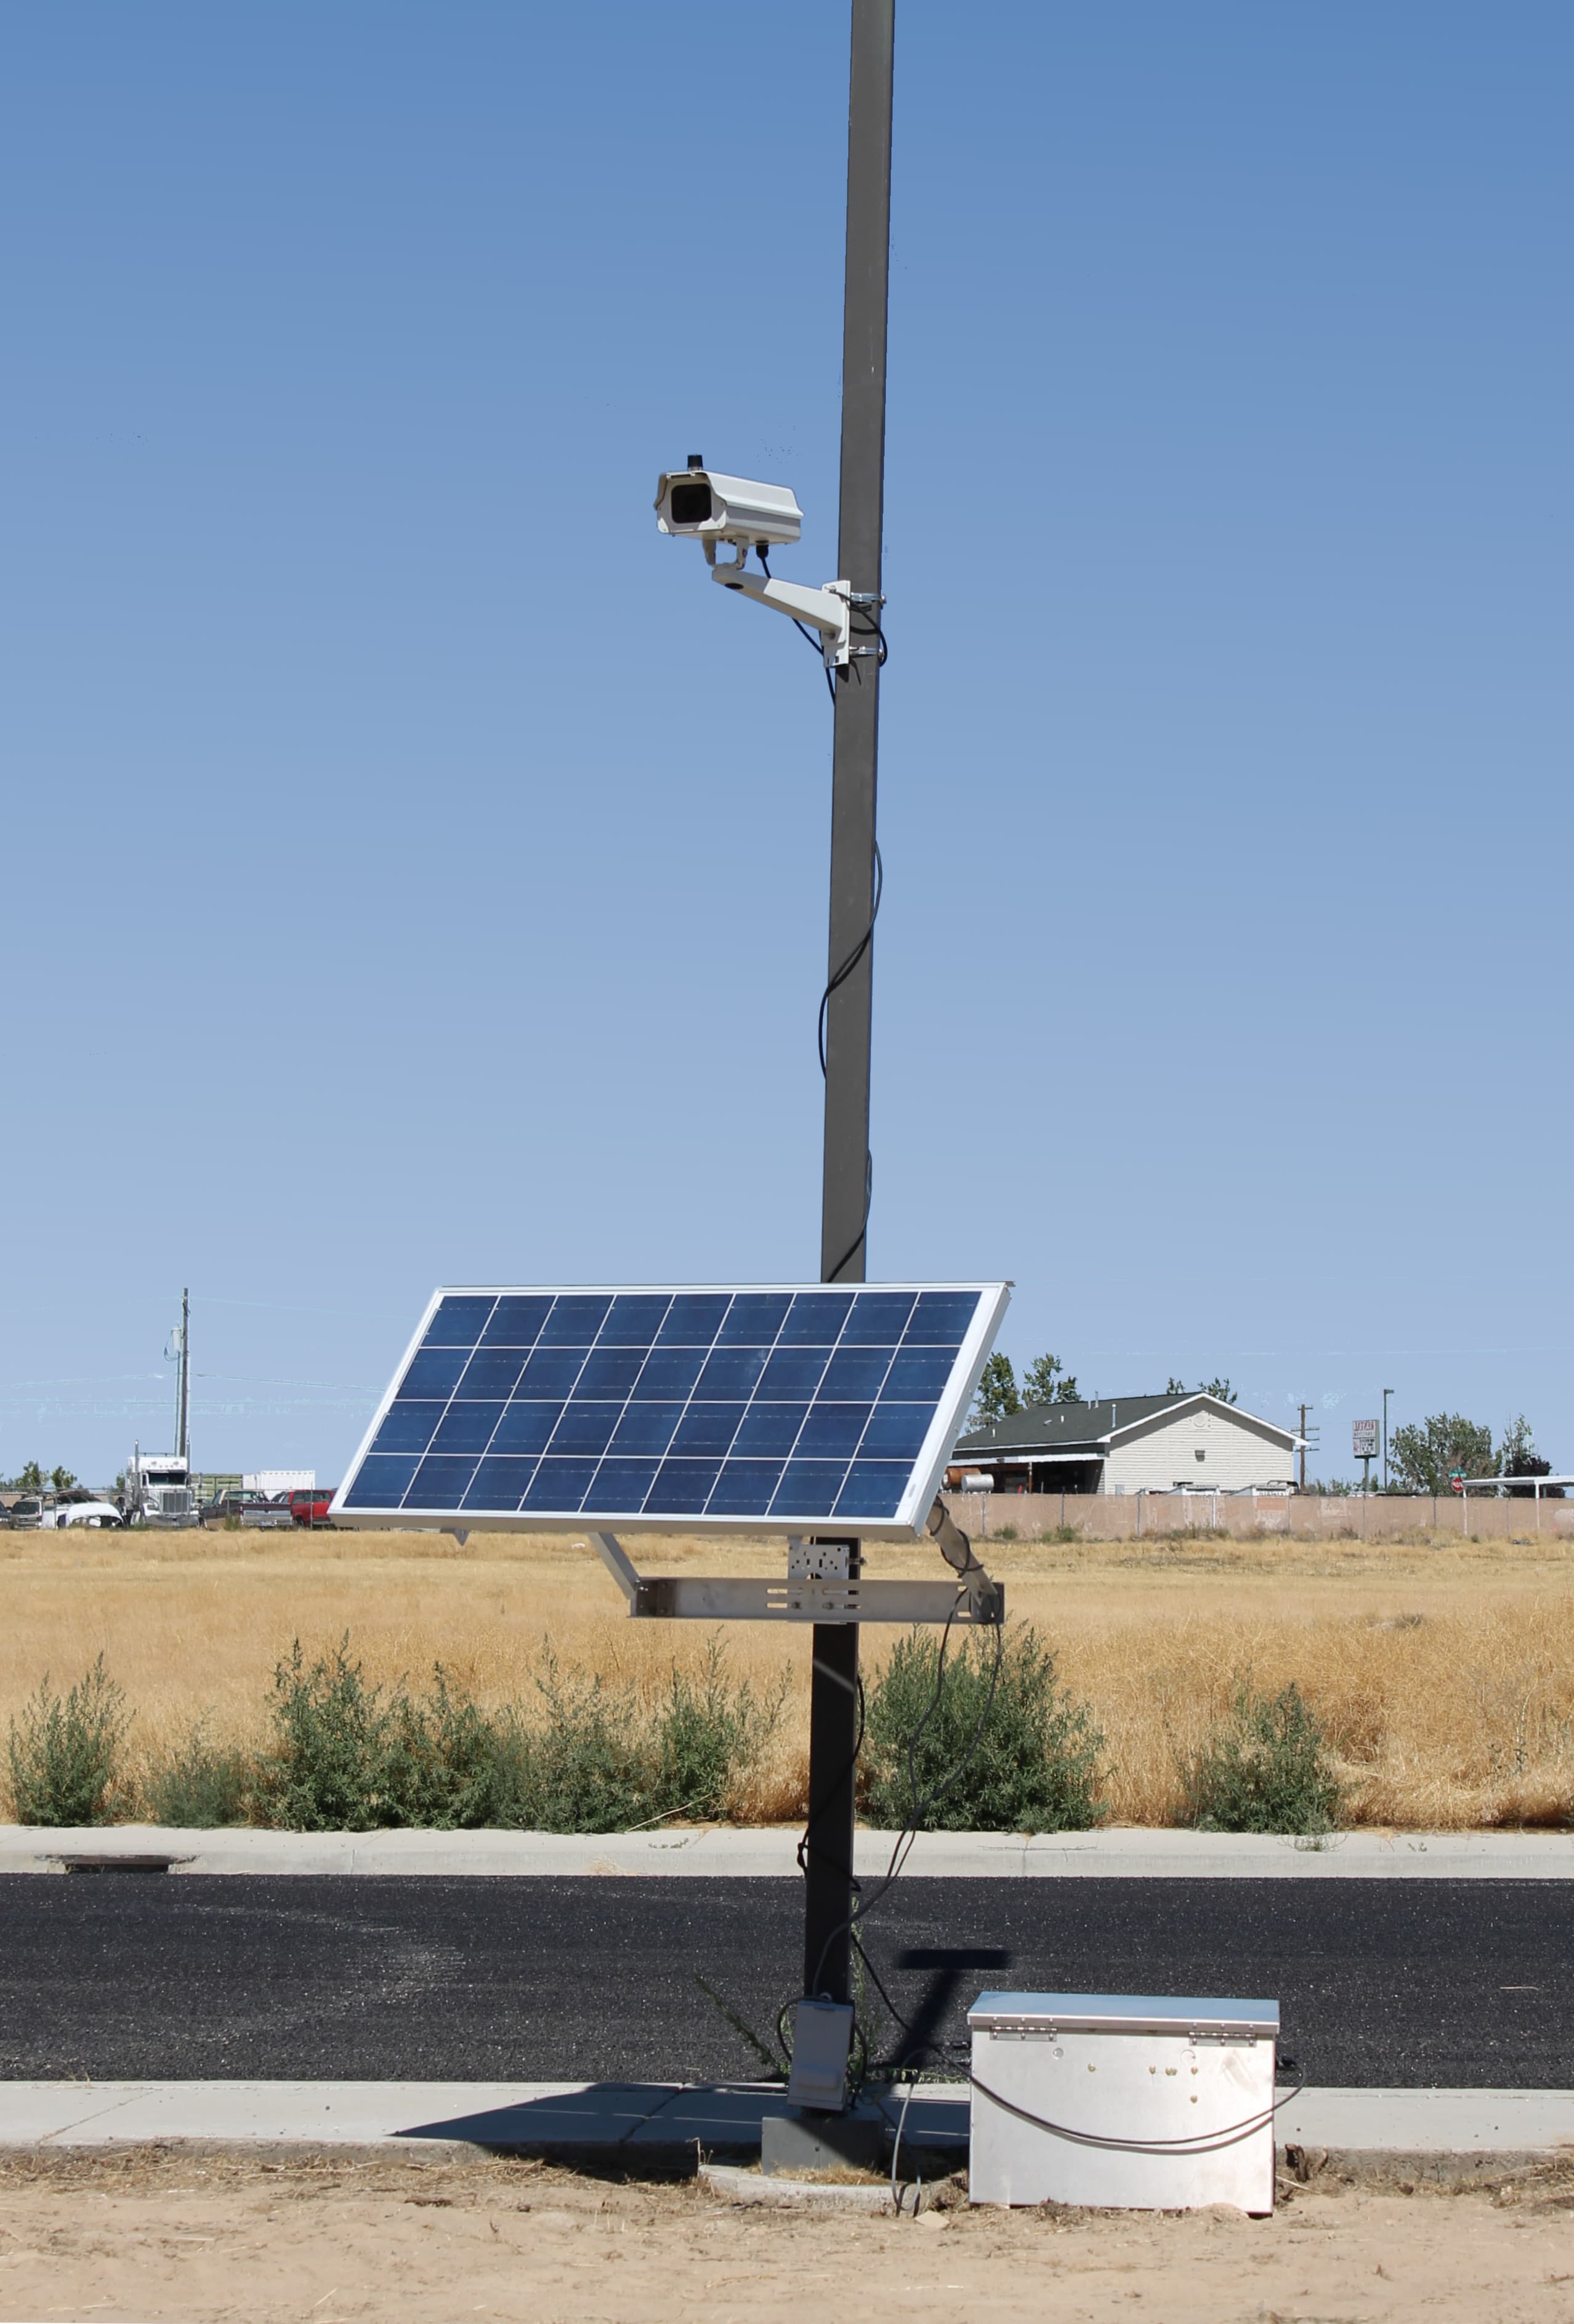
- A temporary utility pole (usually located close to where temporary power is provided to your site, or next to the job trailer). This provides for a more ‘flexible’ solution, as you’re in total control of where the temporary pole is installed on your job site.
- A nearby building or rooftop with a good view of your project. This provides for rock-solid pictures from your construction camera since buildings seldom move. (Our non-penetrating roof mounts are ideal for such situations, since they provide a secure mount for the camera without causing any damage to someone else's property.)
And remember, just because a mounting location is ‘easy’ doesn’t mean it is the best choice. Taking the extra effort to install your camera the right way is worth it in the end when you are enjoying a fantastic time-lapse movie of your project.
By installing your construction camera on a proper mounting surface, you’re setting yourself up for success with crystal clear, Ultra HD 4K photos and time-lapse movies.
3. Use Quality Camera Equipment

This really goes without saying, but for quality results be sure to use a quality time-lapse camera designed specifically for capturing Ultra HD time-lapse movies and photos of construction projects.
Putting a DIY or consumer-grade camera on a construction project may sound like a good cost-savings idea, but consider the nuances that such a solution entails:
- How will you provide reliable power to a DIY/consumer solution?
Changing AA/AAA or rechargeable batteries on a weekly (or daily) basis takes time and effort which could be better spent elsewhere on your project. - What if traditional power isn’t available and batteries aren’t a viable option?
Many DIY/retail cameras don’t offer alternative power options. A handful may have a ‘one-size-fits-most’ solar option that may or may not make the cut depending on where your project location. - How will you ensure proper memory/storage is provided on a regular basis?
There’s little worse than going out to a project to retrieve a memory card full of pictures only to find out the memory was actually over capacity and didn’t capture those must-have moments from the job site. - How will you keep your project in focus and in frame?
Every time you access your budget camera to change batteries or change the memory cards, it's inevitable that your camera will move. It may be a slight wiggle, or it may be a major bump, but it's not good for your time-lapse movie. Are you going to take the time to properly re-align the camera every time?
After all, having a memory card full of useless out-of-focus and ill-framed shots does nobody any good.
These are all important questions to keep in mind and have immediate solutions for if you chose to try a DIY or off-the-shelf camera.
Instead of trying to save a few bucks with a substandard solution you’ll eventually regret, consider using a proven, professional-grade solution like those provided by our team.
At iBEAM, we have designed our cameras to reliably withstand real-world job site conditions like weather extremes and dirt and dust. They are easy to install and easy to use, even for the most technology-averse person on your team. We offer a full range of reliable power solutions for all of our cameras, ranging from traditional 120V AC power to generator kits to custom-sized solar kits. Each and every solar solution we provide is custom-rated for your specific project location to ensure uninterrupted power even in the darkest, coldest months of the year.
And with 24/7/365 online access to all of your projects, you’ll never have to worry about how to access or save your photos and time-lapse movies, as they’re always all at your fingertips. We even store your captured images indefinitely, so if you need project photos five years down the road, we’ll still have them ready to go for you.
4. Maximize Your Construction Camera Use
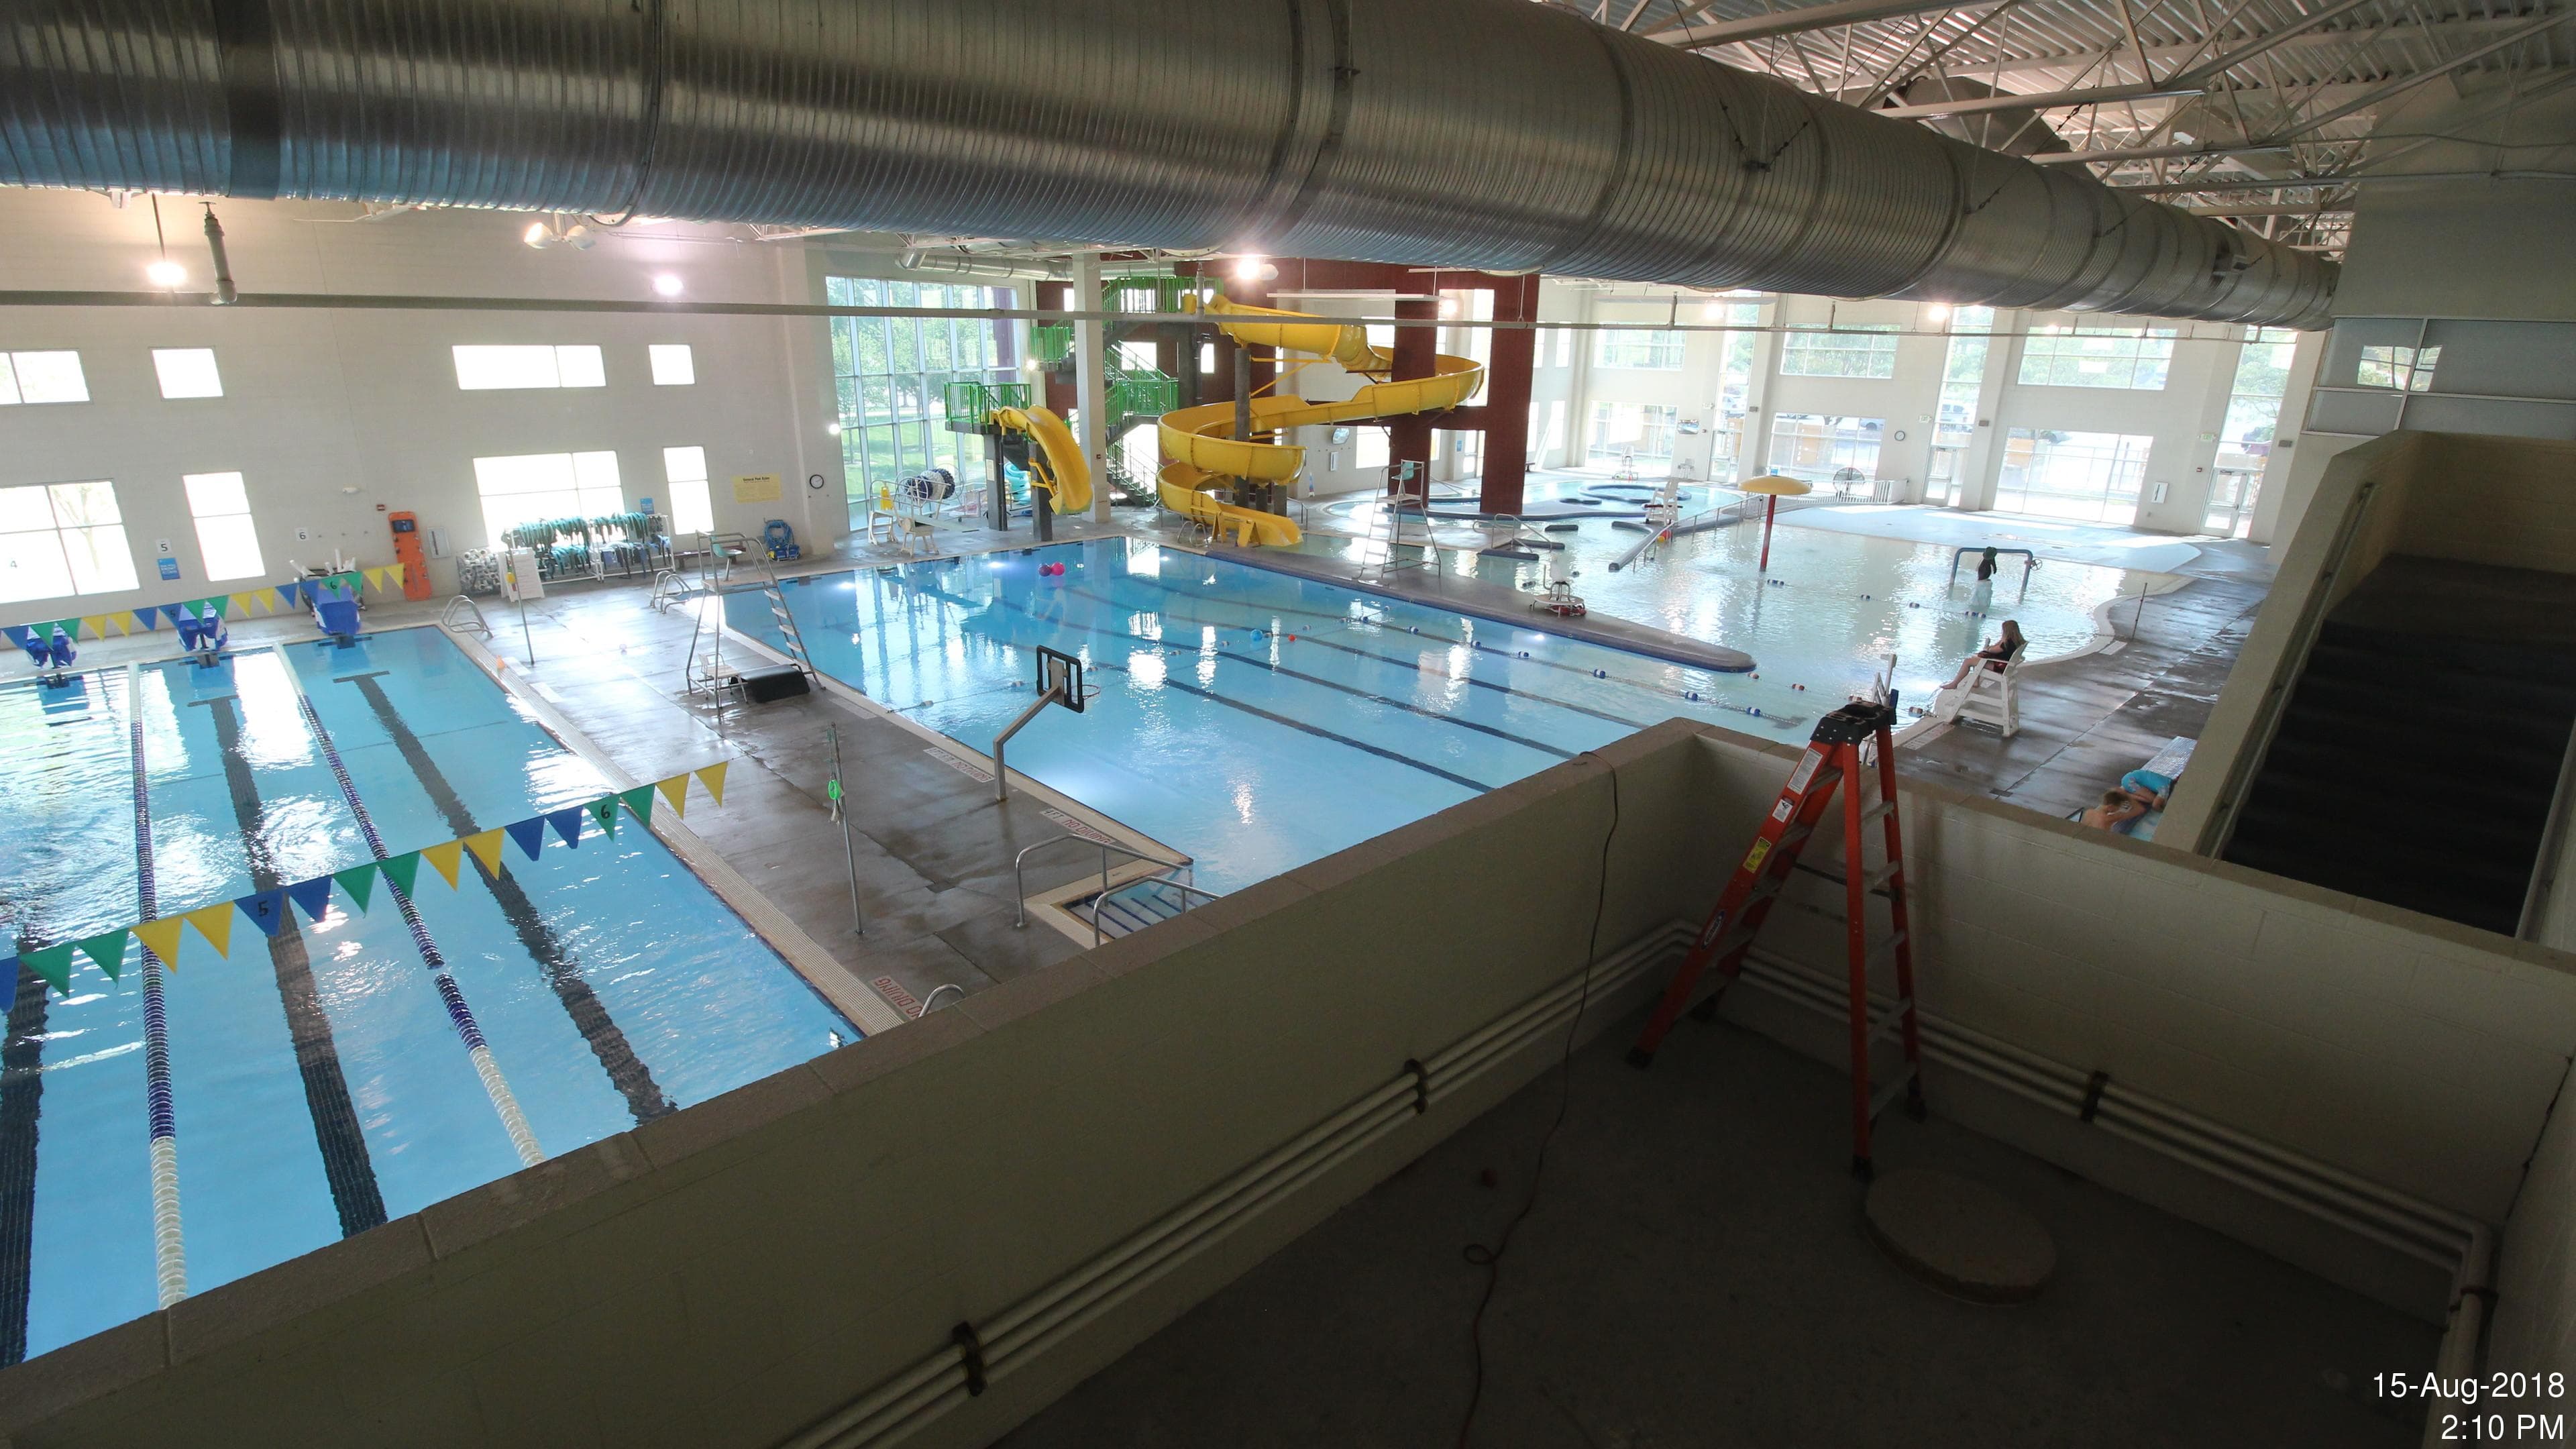
To get even better results from your time-lapse construction camera, relocate the camera to an indoor location once the majority of exterior construction has been completed.
Our rugged construction cameras are specifically designed for both outdoor and indoor use on construction projects with no upgrades or alterations needed. Just relocate and mount your camera, plug it into power, and you’re ready to go!
By moving your camera indoors, you maximize the value of your construction camera by now monitoring and documenting an entirely new angle of your project. This is a great way to showcase the diversity of projects your team delivers in attention-grabbing 4K detail.
5. Account For Change
In the world of construction, changes will happen. From change orders to delivery delays, projects can take longer than initially planned.
It’s important to keep this in mind when using a construction camera, as you’ll need to account for any delays or extra time a project may take when estimating the duration you’ll need to use your camera.
In addition to possible delays, be sure to account for the following project phases to help create the best time-lapse of your projects:
- Landscaping
- Parking lot asphalt pours and striping
- Ribbon cutting or grand opening ceremonies
By accounting for these important project milestones and leaving your construction camera up to capture them, you’ll help create a time-lapse movie that tells the ENTIRE story of your project from start to finish, not just a portion of it.
Avoid Common Time-Lapse Mistakes
Now that we’ve covered how to create the best time-lapse of your next construction project, let’s take a look at some of the common mistakes that can detract from a time-lapse movie so you can avoid them entirely:
- Mounting your camera directly facing sunrises and/or sunsets — this can create a
blur or sunspot effect on images, and in extreme cases, render them useless.
Before mounting and installing your construction camera on a project, consider where the sunrise and sunset will occur in relation to your project. Along the same lines, keep in mind the lengthening (and/or shortening) of days as your project progresses through the year and adjust your mounting location accordingly.
If by chance sun glares are captured by your iBEAM Construction Camera, our team of expert time-lapse technicians will do their best to remove them from your final professionally-edited time-lapse footage.

- Mounting your camera on an unsecure mount — this can cause photos and time-lapse
movies to be shaky, blurry, and ultimately unusable, especially in high-wind conditions.
Instead of risking blurry or shaky images and movies, make sure to mount your construction camera to a secure mounting location (again, this means no trees or cranes!). - Installing your camera in a high traffic area on the job site — don’t install your
camera immediately in front of the equipment or material loading and unloading area at your project. By the
same token, make sure adjacent buildings, street traffic, or foot traffic won’t block your view,
either.
If no other mounting locations are available, consider an elevated mount to ensure your camera captures the entirety of your build. - Not accounting for seasonal changes — this is more common than you may think. Take
time to think about seasonal changes that may impede the view of your project. For example, is there a tree
or shrub that may have foliage bloom in the spring and therefore block your camera view? Or is there a ledge
in front of your camera where snow may accumulate and block your view in heavy winter weather?
Take the extra time to ensure seasonal changes won’t have you scrambling to relocate your construction camera, or even worse, miss out on capturing important project milestones. - Not keeping your project in frame — this may sound intuitive, but make sure your
construction project is the primary focus of your camera and in the center of the framed shot!
Focusing too much on the sky can detract from your time-lapse movie, as cloud movement can be very distracting. Focusing too much on groundwork can also detract from your time-lapse movie and may even cause you to miss important vertical construction milestones.
Instead, during installation make sure to verify your camera view and make any necessary adjustments as needed. The iBEAM support team is also a great resource to help ensure your project is in-shot and in-focus.
We Are Always Here to Help
With this handful of tips to help you get the best results from your construction camera now at your disposal, this is the perfect time to plan to put an iBEAM Construction Camera to work on your next project!
With purchase and short-term rentals available for our construction cameras, we’re confident we have a solution that’s right for your project and budget.
Contact our team of construction camera experts to learn more about our solutions and get answer to any questions you may have.
Until next time, keep what’s really important in focus.
Vicki Robertson
Vice President
iBEAM Construction Cameras
Doing the right thing, for every client, every time.