iBEAM Tech Tips
Tech Tip: How to Find a Photo
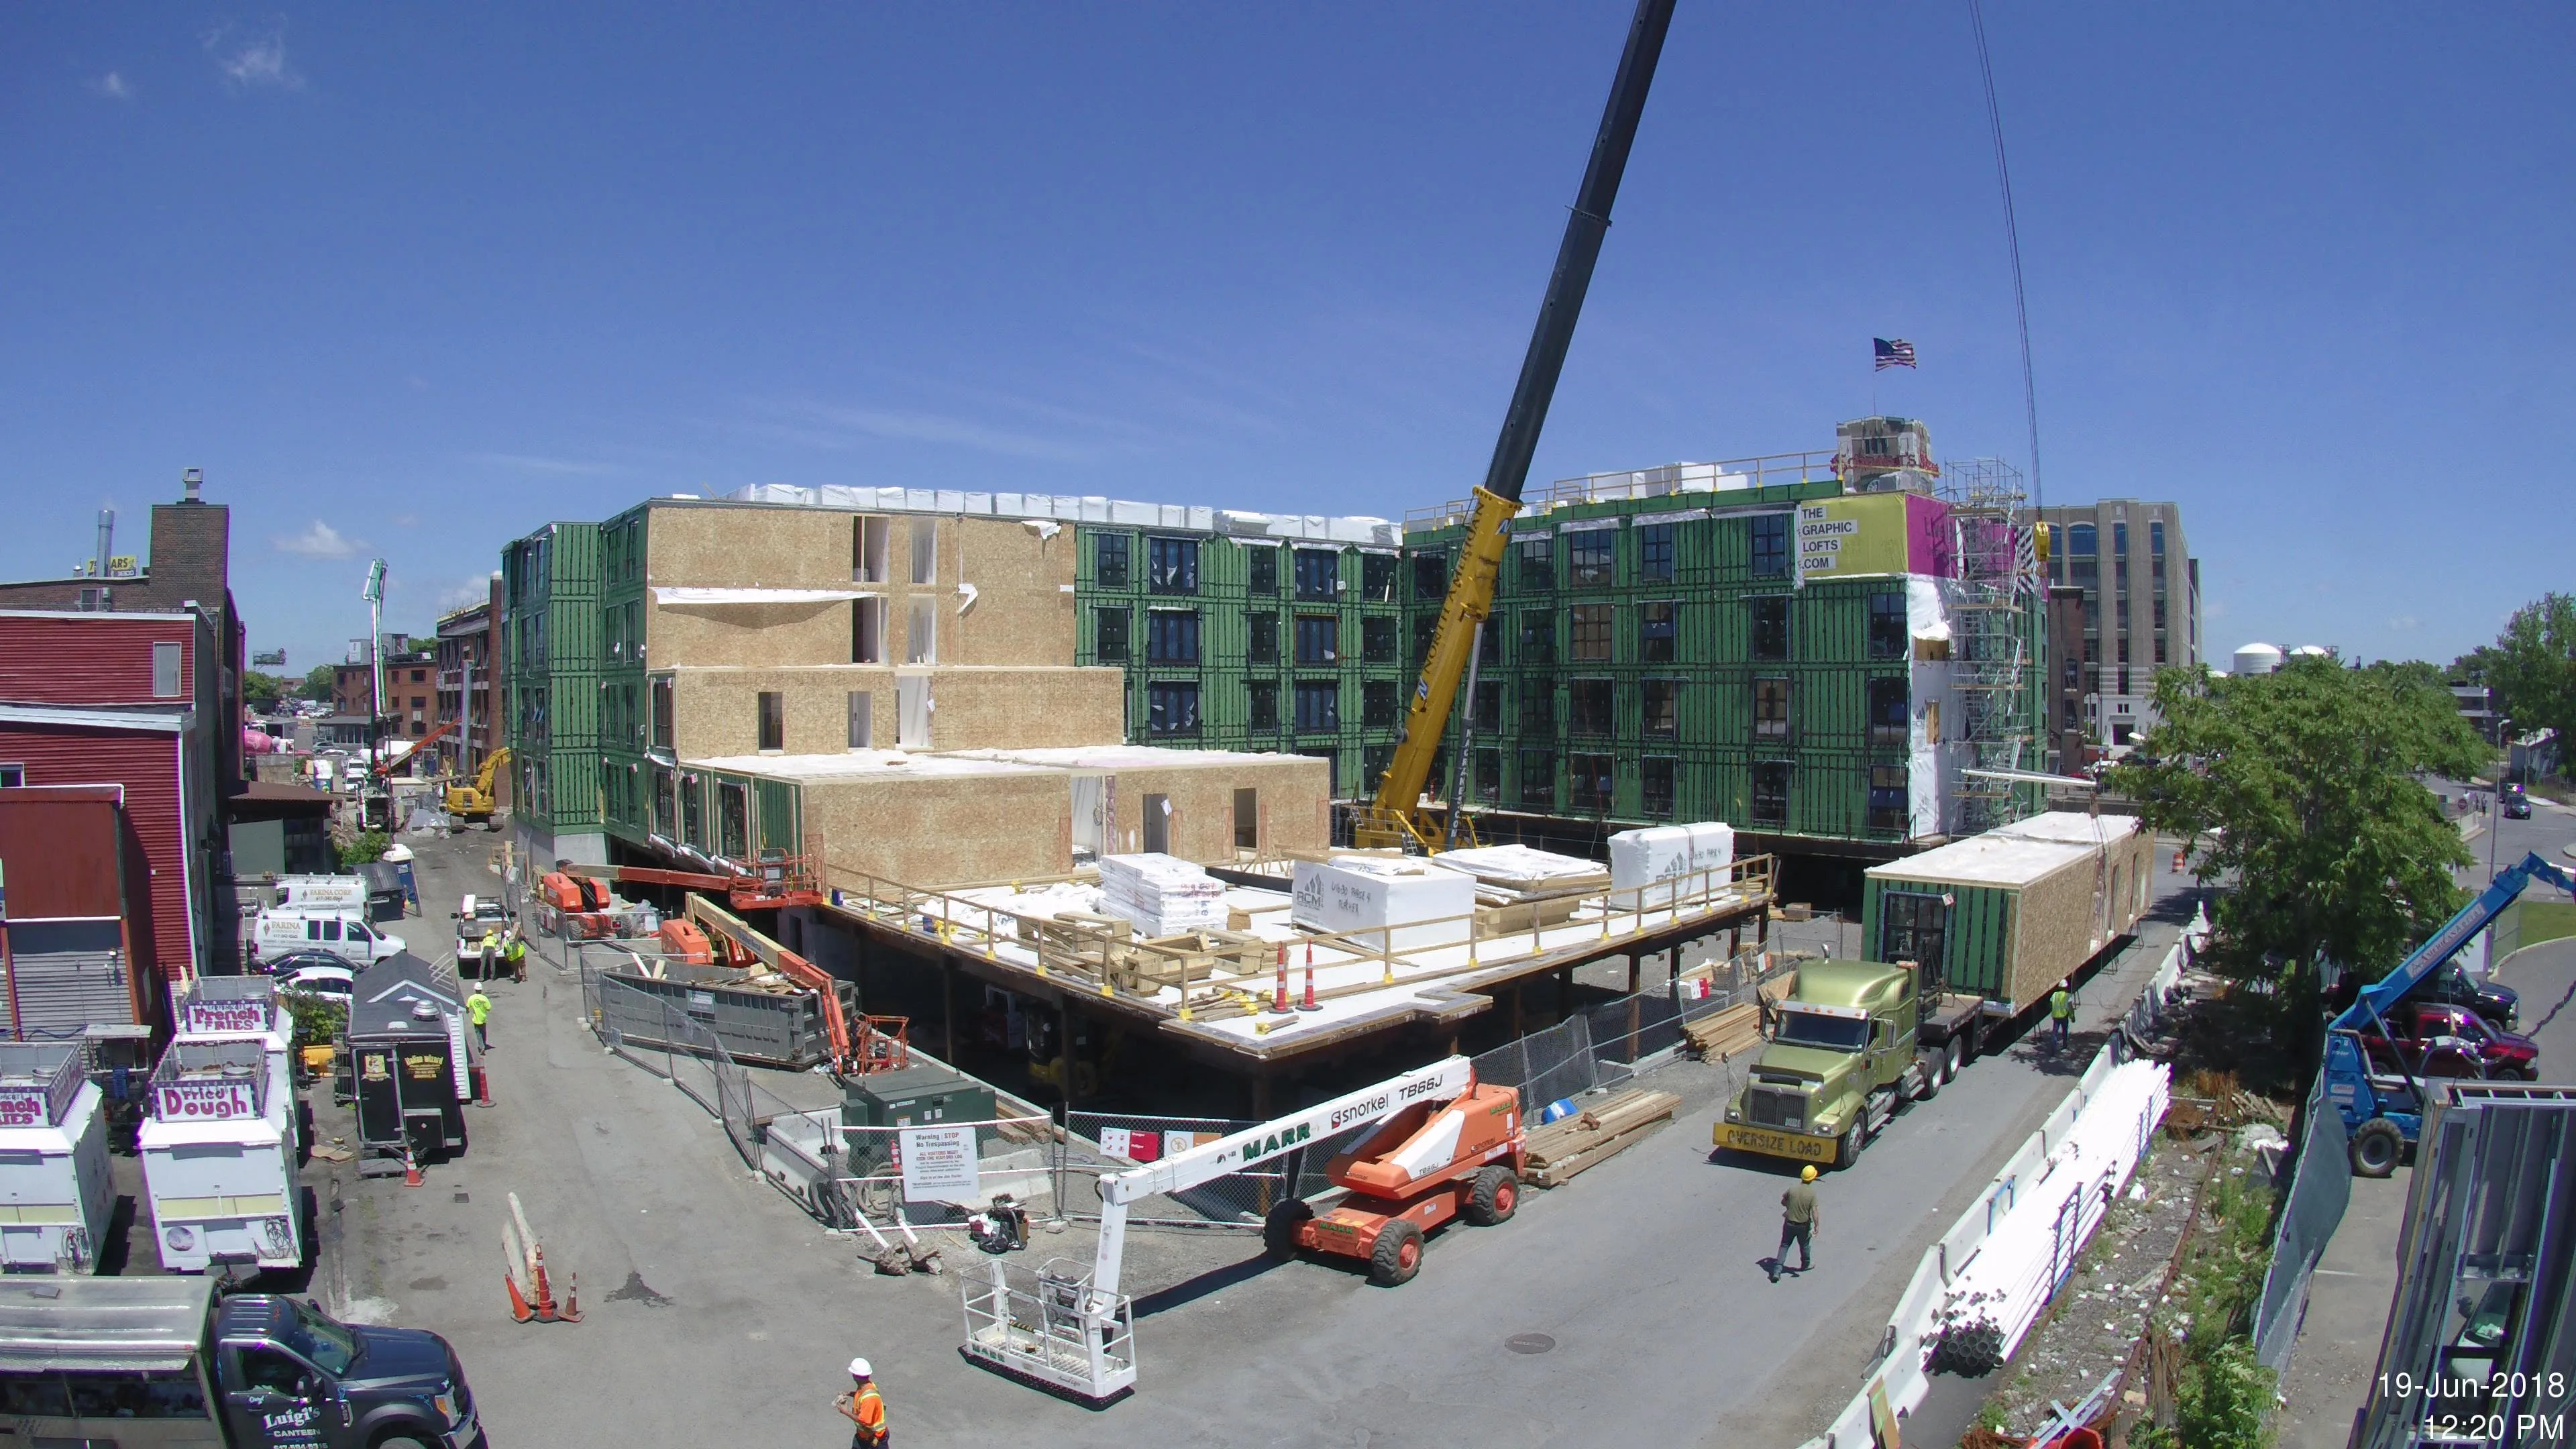
How to Find a Photo On Your iBEAM Camera Web Page
A photo documentation solution is only as helpful as it is easy to use. Your iBEAM camera web page provides a few different ways to help you quickly find the photos you need.
Here are step-by-step instructions to guide you. (These instructions assume that you are already logged in to your camera web page. Contact the iBEAM Support team if you need help logging in.)
Using the Calendar Tool
This tool takes you right to a specific date and time. This is a great tool to use if you know exactly when an instance occurred that you want to review.
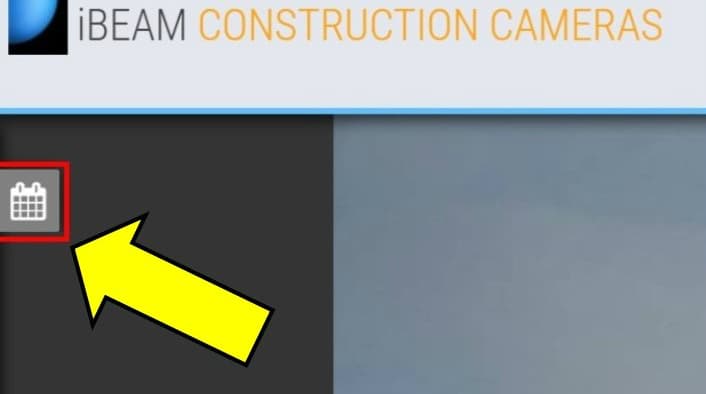
Step 1: Select the "Calendar" icon from the left side of your camera web page to open the Calendar search tool.
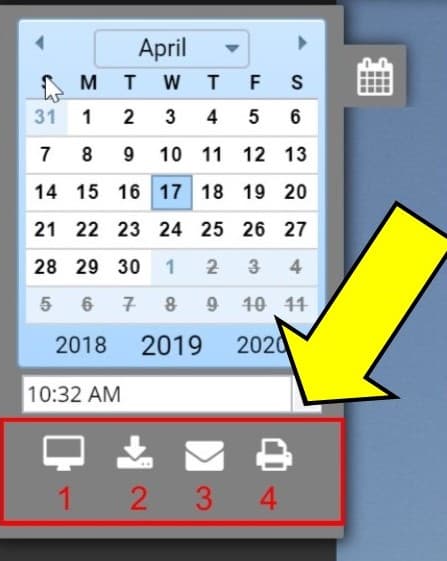
Step 2: Select the Month, Year, Date, and Time of the photo you want to see.

Using the Timeline Tool
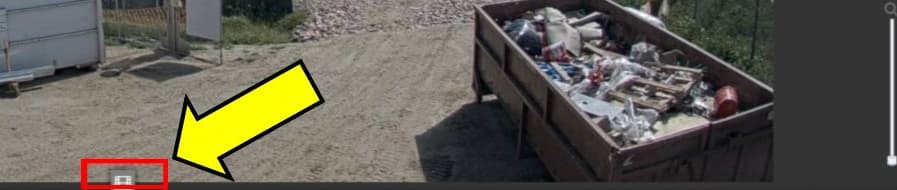
Step 1: Select the "Timeline" icon at the bottom of your camera web page to open the Timeline tool.
Step 2: Select the frequency of photos to display (hourly, daily, weekly, monthly, or all) and the time and/or day to display. For example: display weekly photos closest to Monday at noon.

Step 3: Use the horizontal scroll bar at the bottom of the page to scroll through photos and then click on a photo to display it.

Working With a Photo
Once you've found the photo you need, you can (1) View in full-screen mode, (2) Download the photo, (3) Share the photo via email, or (4) Print the photo using the tools located on the Calendar tool menu.
Don't forget to share and forward these tips with your team to make sure they're informed and up-to-date on everything your construction camera can do.
And remember, we are always here to help! Contact our team of camera support specialists if you have questions about your iBEAM Camera.

iBEAM Systems, Inc. is a WBENC-Certified Women's Business Enterprise (WBE), serving the construction industry since 2001.